Personalized attention +34 96 206 62 98
 Free shipping to Iberian Peninsula from 30€
 9/10 Rating
 Discreet shipping
Many growers wonder how to make cannabis cuttings, or cuttings from any woody plant. Creating cuttings from a cannabis plant may seem complicated, but it is actually quite simple. Here, we explain how to make them easily, step-by-step.
What are marijuana cuttings?
Cannabis cuttings are pieces taken from a mother plant and used to propagate a new plant. The cutting typically includes a part of the stem containing nodes, which are the points where branches and leaves grow. This process takes advantage of the cannabis plant’s ability to generate roots from a cutting, allowing it to grow independently and develop the same genetic characteristics as the mother plant.
The main benefits of using cuttings include:
- Obtaining a plant with the same genetic properties as the mother plant, such as quality and yield.
- Reducing cultivation time since the cutting is already a developed part of the plant and does not need to be germinated from seed.
Factors to consider when making marijuana cuttings
The first thing to consider is the type of plant you have.
- There are many varieties of softer-stemmed plants, such as roses or petunias, which can root simply by placing the stem in water for a few days before transplanting. However, some varieties require an additional stimulus to develop roots.
- Woody species, on the other hand, naturally contain rooting hormones in the second layer of their bark. With slight stimulation and proper humidity, roots can appear within a few days.
How to make marijuana cuttings
The process is simple but requires essential materials to ensure successful cloning.
What do you need to make cannabis cuttings?
You will need accessories for mother plants and cuttings, including the following:
- A greenhouse or cutting propagator
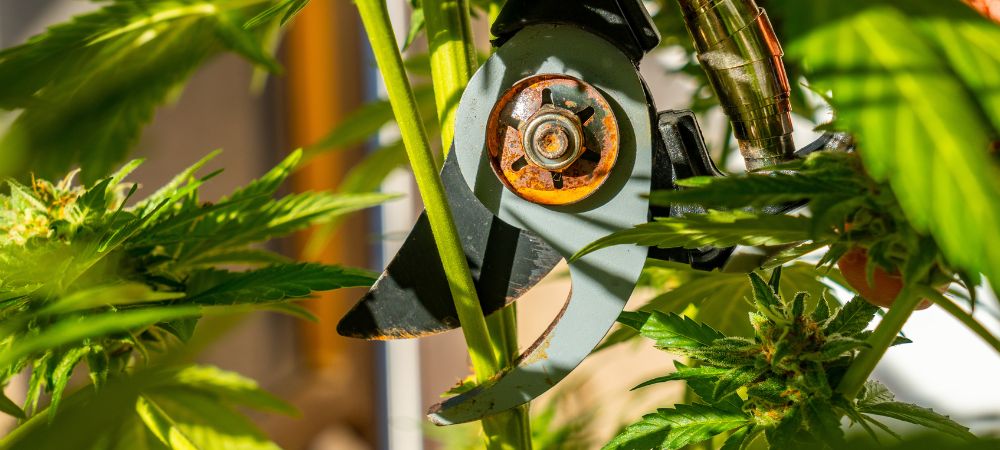
- Clean cutting tools: such as a scalpel or a sharp blade
- Rooting hormones
- Spray bottle
- Small pots
- Desired soil or substrate
- Appropriate lighting: CFL or low-energy lamps
It’s advisable to have a window that allows natural light without direct sunlight. Additionally, if the temperature drops below 18 to 20 degrees Celsius, a heating mat may be needed.
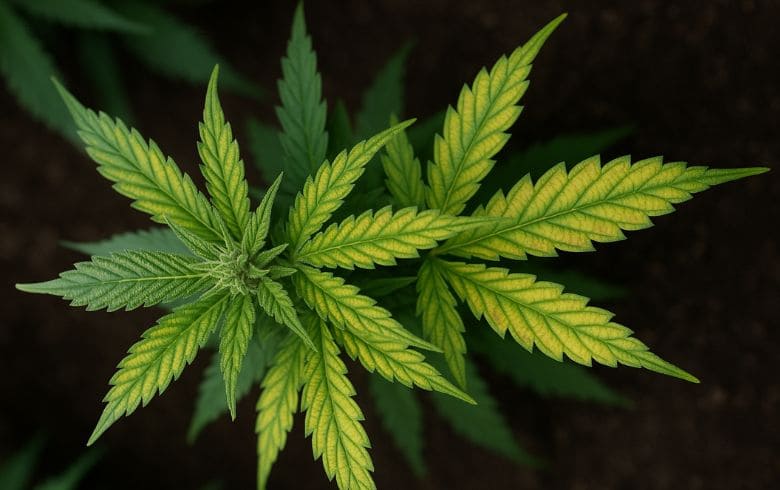
Selecting the right mother plant
The first step is to create and maintain the mother cannabis plant from which you will take the cuttings. A mother plant can be any specimen with desirable characteristics for cloning. Common traits that growers seek include:
- A unique or exotic aroma
- Sweeter, milder, or more distinct flavors
- High potency and resin production
- Robust growth and manageable height
- Faster flowering times
- Resistance to pests or mold
- High yields with excellent productivity
Ultimately, each grower selects the traits they prefer to clone in their ideal cannabis plant.
Preparing the substrate and rooting gel
To promote healthy root development, always plant cuttings in a well-aerated medium that retains moisture. For optimal results, it’s recommended to use rockwool cubes for good air circulation and moisture retention.
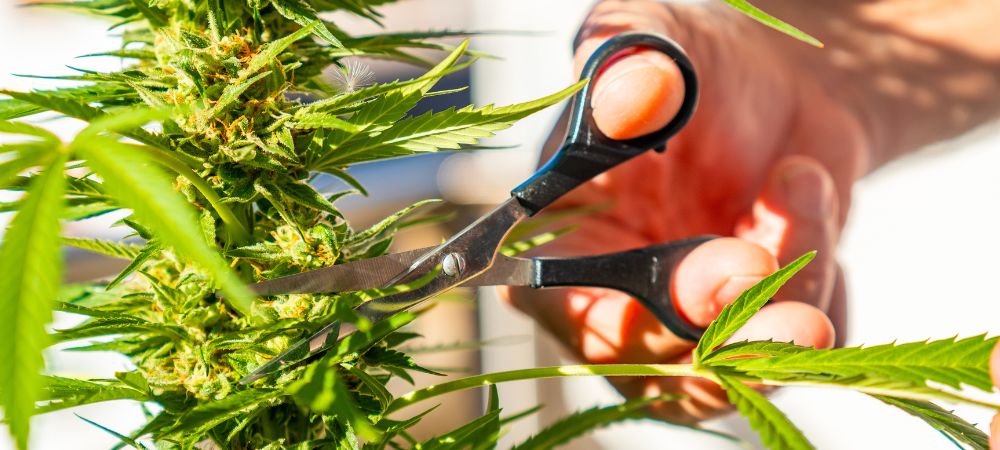
Selecting the branch to cut
Once you have chosen the plant, select a branch to use as the future cutting. It should measure around 15-25 cm, depending on the species, ensuring there is sufficient space (about 10 cm) between the buried section and the first leaves.
Making the cut
Cut a branch with a node for planting, leaving 3 cm below the node and 15 cm of stem above. The process includes:
- Gently scrape 3-4 cm of the stem with a scalpel, being careful not to damage the natural rooting hormones.
- Apply rooting hormones with a brush and avoid contaminating the hormone bottle.
- Paint the section of the stem that will be buried and place it in the growing medium.
Prepare the pots
Fill the pots you plan to use, typically the smallest ones available, with soil and water it without overdoing it, just enough to keep the soil moist. Create a hole the size of the stem, ensuring it doesn’t rub off the rooting hormones applied to the stem. The steps are as follows:
- Once placed in the hole, gently press the soil around the stem to secure it firmly, preparing it to go into the propagator.
- Do not water the soil again until the cutting roots. It will survive on ambient humidity until it can absorb moisture through its new roots. A spray bottle and a propagator are necessary for this process.
- After placing the cutting in the pot, spray the leaves with water and place it in the propagator to maintain around 90% humidity without wetting the soil.
- Before putting the cutting upright in the propagator, spray the leaves without wetting the pot, shake off excess water drops, and then position it upright.
Repeat this process for all cuttings. Never allow the bottom of the propagator to get wet; it should always remain dry.
Monitor the cuttings daily
After completing the previous steps, it’s essential to check the cuttings’ health daily, ensuring they have enough but not excessive moisture. You can reduce the humidity by lightly misting the leaves with chlorine-free water.
If any cuttings die, remove them immediately to prevent mold from spreading to others.
Transplanting the cuttings
Once the cuttings have grown to the desired size, sterilize the workspace and prepare pots with moist soil before transplanting them.
Step-by-Step Guide to making marijuana cuttings
This process takes several days, during which you’ll need to follow these steps to see roots develop within around 14 days:
- Day 1: Prepare the cuttings and place them in the propagator as explained earlier.
- Day 2: Remove the propagator lid for 2-3 minutes, dry any water droplets on the lid, and replace it. No need to spray yet, as there will still be ample humidity from the first day.
- Day 3: Spray each cutting individually. Remove all cuttings from the propagator, dry the inside of the propagator, spray the leaves, shake off excess water, and replace them. Close the lid and leave it.
- Day 4: Only remove the lid for a few minutes and dry any droplets on the lid.
- Day 5: Spray the cuttings again. This will be the last time you spray them.
- Day 6: Dry the droplets on the lid and leave the propagator uncovered for a few minutes. After closing it, you can leave the vents open for about 30 minutes to help the cuttings acclimate to lower humidity.
- Day 7: Spray the cuttings again, dry the lid, and leave the vents open for 2 hours.
- Day 8: Dry the lid and leave the vents open for 6 hours.
- Day 9: Spray the cuttings one last time and leave the vents open for 18 hours.
- Day 10: By now, the cuttings should start rooting, though you may not see the roots for a few more days. Remove the lid, check if the soil is still moist, and adjust the watering accordingly. From now on, rely on soil watering without spraying.
Additional tips for growing cannabis cuttings
Avoid overwatering the pot, as this will prevent rooting and cause the stem to rot. If the soil feels dry, add a small amount of water for moisture and continue monitoring the cuttings daily until roots appear through the bottom of the pot.
Review your steps if something goes wrong. If cuttings wilt, it may be due to insufficient humidity during the first few days.
If the stem turns black or rots, it may be due to excessive moisture. Prevent this by drying the cuttings properly and avoiding water contact with the stem.
How to make marijuana cuttings using rockwool
Rockwool is a popular medium for propagating cannabis cuttings. It provides a stable and aerated environment that promotes quick and efficient rooting. To make cuttings with rockwool, follow these steps after sterilizing your workspace and preparing moist pots:
- Soak each rockwool cube in water for 2-3 hours.
- Make a hole in the center of the cube using sterilized scissors.
- Cut the stem and insert it into the soaked rockwool cube.
- Place the cube in the propagator and lightly spray with water to maintain humidity.
Tips for making cuttings in soil
If you prefer to use soil as a medium for your cuttings, follow these guidelines to ensure successful rooting:
- Prepare the pot and soil, using a light nutrient mix with perlite.
- Moisten the soil slightly and allow it to drain.
- Dip the base of the cutting in a rooting agent and plant it in the soil.
- Press the soil gently around the stem to secure it.
- Place the pot in the propagator and spray with water to increase humidity.
How to make marijuana cuttings in water
This method is useful if you don’t have soil or rockwool available. The cuttings are placed directly into water. Follow these steps:
- Fill a container with chlorine-free water.
- Dip the base of the cutting in rooting gel and place it in the container.
- Change the water every 2-3 days to prevent algae and bacteria buildup.
By following these steps, you can achieve high-quality results when propagating cannabis cuttings.