Personalized attention +34 96 206 62 98
 Free shipping to Iberian Peninsula from 30€
 9/10 Rating
 Discreet shipping
Growing weed outdoors is one of the most natural and cost-effective ways to achieve a bountiful harvest. Discover the best tips on how to grow marijuana outdoors, whether in soil or pots, to achieve high-quality yields. Here at Grow Barato, you will learn everything you need to know about cultivation, from choosing the ideal location to caring for your plants during every stage of growth.
Why grow marijuana outdoors?
- Natural growth: Marijuana grown outdoors has the opportunity to develop more naturally, taking advantage of direct sunlight and local environmental conditions.
- Higher yield: Outdoor-grown marijuana plants tend to be larger and produce more abundant harvests.
Energy savings: Unlike indoor cultivation, you don’t need expensive artificial lights or ventilation systems.
Choosing the perfect location for outdoor marijuana cultivation
Here are some tips to consider when selecting your cultivation site:
- Sun exposure: Marijuana plants need at least 6 hours of direct sunlight per day. Choose a location where the plants will receive light during the day, preferably in the morning or early afternoon, to avoid excessive heat exposure.
- Wind protection: Strong winds can damage plants and affect their growth. Choose a sheltered area or use structures such as fences or screens to protect your plants.
- Suitable substrate: The soil where you plant must have good drainage and be free of contaminants. If the soil in your area is inadequate, improve it by adding compost or potting soil.
Enough space: Marijuana plants can grow quite large, so you need sufficient room for them to develop without obstacles. If growing on a terrace or balcony, make sure you have space for large pots.

Selecting the right seeds and pots
First, you need to choose and purchase the marijuana seeds you want to grow, whether hemp or CBD seeds, outdoor marijuana seeds, feminized or autoflowering, selecting the genetics that are ideal for outdoor marijuana cultivation.
Once you have the seeds, you can germinate them using the paper towel method. The next step is to select the appropriate substrate for your chosen cultivation area, as plants in very humid areas require different soil than those in dry areas.
It is essential to have pots for your plants, even if the final cultivation will be in the ground. Although seeds can be planted directly in soil, it is recommended to let them germinate and grow in a controlled environment before transferring them to their final location. This ensures stronger initial development, increasing survival chances under harsher conditions. Two main pot sizes are recommended:
- A 7x7x9 cm pot for placing the seeds once germinated, when the roots have started growing. Plant at a shallow depth.
- A larger pot for subsequent growth.
The first days of life
After about 10 days, the plant will have stretched almost to the point of bending. At this stage, it should be transferred to a 3.5 L pot. Bury the stem—usually weak—about two-thirds of its length, approximately 6 of 10 cm. This prevents bending and encourages the development of extra roots in the buried portion, resulting in more vigorous growth. Water along the edges until the plant starts absorbing more water, as wetting the stem may cause rot. Keep the plants in a location with direct sunlight, preferably sheltered from wind and cold. On cold nights or windy days, you can temporarily move them indoors. Once the plant raises about a hand span off the ground, roughly after a month, it can be moved outside, as it will have developed resistance to various environmental stressors.
Choosing high-quality preventive products
It is essential to have three preventive products in addition to fertilizers when growing plants outdoors, which are:
- Neem is used to repel insects such as whiteflies and aphids. It should be applied at the beginning of spring; the first spray you give your plants should be this natural product. Neem comes from a toxic plant, so insects prefer other plants when they smell it. Products like ProNeem can be very useful.
- Fungi Boom by Boom Nutrients prevents the plant from being infected by common fungi that attack cannabis plants (botrytis, powdery mildew, downy mildew, among others). Applying this fungicide strengthens the plant structure, as it contains silicon. Preventing fungal infections is essential in marijuana cultivation, especially during the first and last weeks of development, when plants are most vulnerable.
- Soil Care Boom eliminates worms and larvae, preventing them from destroying the harvest. These pests are sometimes hard to detect because they camouflage well among the buds. It’s always better to prevent than to cure, so the first application should be in early June and repeated every 20 days until about a month before harvest.
To spray the plants, they need to be of a certain size, as a plant with a very thin stem will bend too easily and cannot support the weight of the water: you need a strong plant.
[ppgbo products=”3347,5191,5188″ language=”en”]
Fertilizer and pH charts for outdoor cultivation
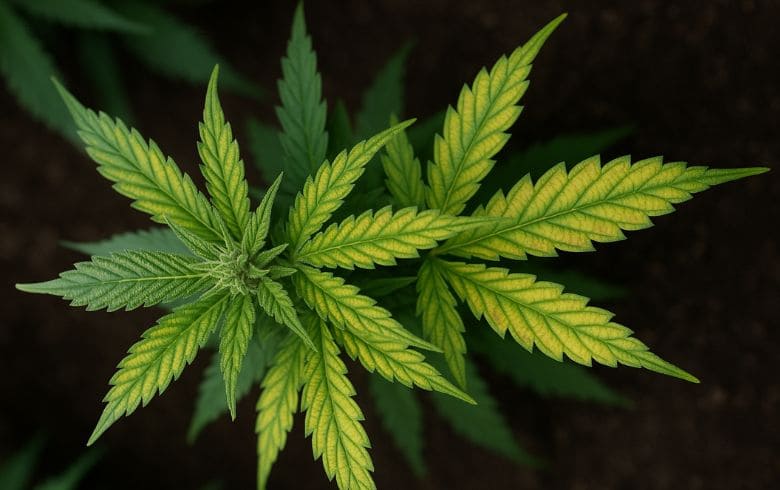
Every day, the plants will continue to grow. While water and sunlight are sufficient initially, gradually fertilization will be necessary to ensure proper development and maintain the pH of the irrigation water. If the water pH is not measured, nutrient deficiencies may be misinterpreted, as plants may not absorb nutrients properly when pH levels are too high or too low.
The optimal pH for marijuana during the growth phase is 5.5 to 5.8, including fertilizers. There is a wide variety of marijuana fertilizers available, and plants benefit from organic fertilizers if you want to maximize their potential.

During this stage, plants need nitrogen-rich fertilizers, which are their primary requirement. This can be supplied with worm castings in the soil and supplemented with other organic fertilizers.
Necessary transplants
Once the plants stop growing, they will need to be transplanted into a larger pot, roughly double the size of the current one. Wait until growth slows before transplanting again; otherwise, they may not continue to grow.
As summer approaches and days shorten, the plants will begin flowering. Therefore, around July is the ideal time to transplant them into their final pots.
How to grow marijuana outdoors
During the final transplant, enrich the soil with guano, such as Guano Boom, whether in a large pot or a hole in the ground. Fill the pot or hole with good substrate suitable for your terrain, mixing in approximately one tablespoon of guano per 7 liters of soil.
Bat guano is a slow-release nutrient with high phosphorus and potassium levels. A month after adding it, make a furrow around the stem to reapply the dose, then cover it again. When watered, the nutrients penetrate downward, providing nearly enough for the entire flowering stage. Supplement with a flowering fertilizer like Floración Boom or a complete bloom fertilizer. Products like Agrobeta’s Explota Cogollos can also enhance production.
[ppgbo products=”4587,8503″ language=”en”]
This completes the outdoor cultivation process, yielding a high-quality product in a relatively simple way. About 15 days before harvest, flush the soil with plenty of water to remove excess nutrients and ensure it is as clean as possible at harvest time.
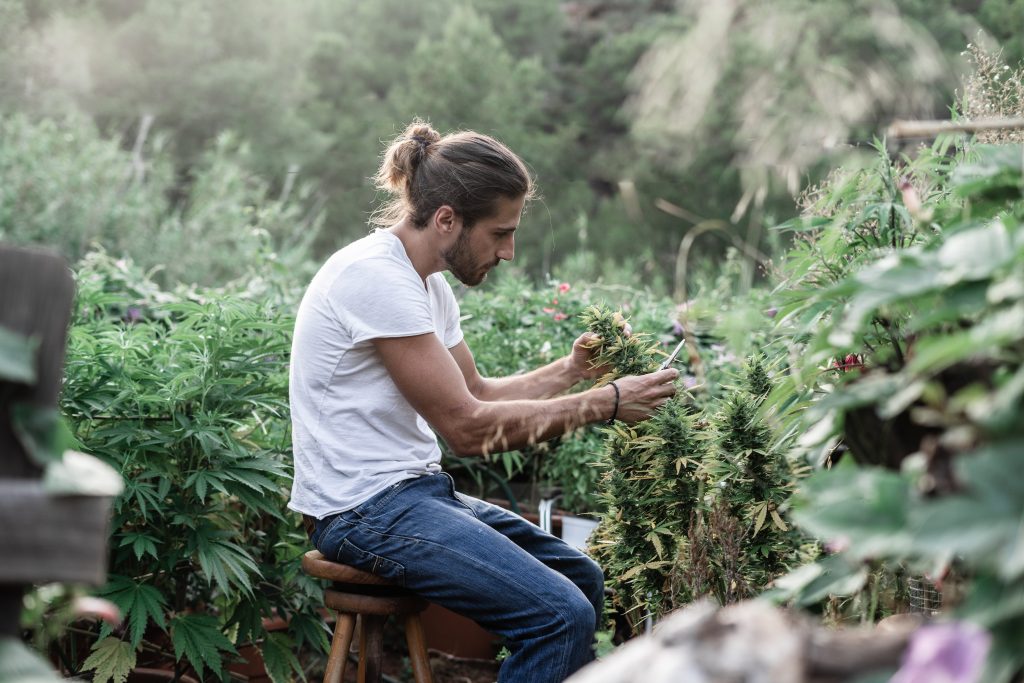
After flushing, allow the soil to dry and then maintain watering only until harvest day, ensuring the soil is dry. This prevents excess water inside the plant, reducing the risk of bud rot or other issues. Once harvested, dry and cure the marijuana properly. Finally, using bud trimmers is recommended for large harvests.
Additional tips for successful cultivation
- Proper watering: Learn how to water marijuana plants correctly. Avoid overwatering, as stagnant water can rot the roots. Water only when the top layer of soil is dry.
- Shade during heat: If you live in a very hot area, provide shade during the sunniest hours to protect your plants.
- Consistent care: Although outdoor marijuana plants adapt well, they require regular attention. Monitor their growth, water when necessary, and prune dead branches.+