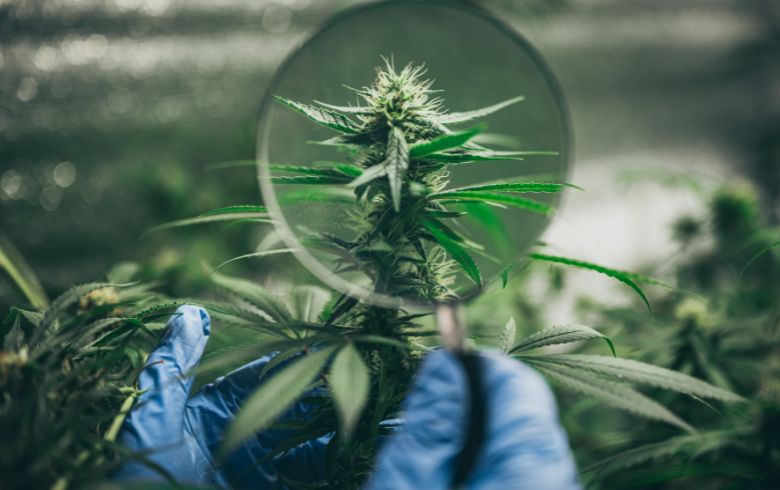
One of the best ways to keep your own personal supply going is to grow your own plants at home. One of the first issues you’re going to run into if you’re a beginner is probably your marijuana grow light setup. Grow lights are one of the most important parts of growing cannabis indoors – they imitate the sun and give your plants the energy they need to grow and flower successfully. We’re going to go through the different types of grow lights that you can use, as well as their pros and cons – when done right, your lighting system can be the difference between large yields and lackluster flowers.
If you’re growing indoors for the first time, we recommend using a grow tent so you have a set space to work in with an already-reflective surface. The first choice you’re going to have to make is the type of lighting that you want to use.
Types of grow light setup – HID, CFL, LED
The three types of lighting that are most used in homegrow systems are HID, High Intensity Discharge such as HPS (High Pressure Sodium) and MH (Metal Halide), CFL, Compact Fluorescent Light and LED, Light-Emitting Diode. Each one of these types of lighting has its own pros and cons, although some growers combine them in order to achieve better results when growing large numbers of plants indoors.
You’ll also need to keep in mind that there are lights designed for the vegetative stage, and then there are lights designed for the flowering period – most growers tend to use dual spectrum lights which produce the right type of light for both periods; it’s much easier than having to switch them out every time you flip the lights in your indoor grow.
 High Intensity Discharge – HPS/MH
HID grow lights are the most well-known and still one of the preferred lights for your grow light setup, they’ve been around since the 90’s. In the last decade or so these types of lights have become much more efficient, and many growers prefer HPS lights due to the lumens that they are capable of producing. These types of bulbs require a ballast and a decent reflector in order to make the most out of them.
One possible downside to these types of bulbs is that your electric bill may spike a bit, especially with the 600W and 1000W models, as the ballast required also needs an input. HPS bulbs also tend to heat up a bit more than other systems, especially in small areas like tents or small rooms, so this might not be ideal if you live somewhere that tends to be warm all year round.
When it comes to efficiency, 400W bulbs produce good results in small grow tents (1 x 1 m), allowing for yields of about 200 – 300g, which is more than enough for some self-growers. 600W bulbs tend to be the most used ones for private growing as they tend to be slightly less expensive than the smaller 400W bulbs, and the fact that they provide coverage for larger tents, about 1.2 × 1.2 m. 1000W bulbs are usually used commercially due to fact that they’re a bit too potent for small grow tents. They’re usually used in grow rooms and can cover over 2 x 2 m.
Also, when it comes to HID lighting, for optimal results you should use an MH light during the vegetative period and then switch to a HPS during the flowering period. It’s also important to note that HPS lights can also be used for the entire grow and still produce more than acceptable results.
CFL (Compact Fluorescent Light)
CFL lighting systems tend to be used in smaller grow tents due to the fact that they don’t heat up too much, so all you need is a reflector with a socket, pulleys and the bulb to complete your installation. They’re also only really cost-effective if you’re growing one or two plants, so they’re perfect for beginners that can’t wait to get started. Just connect the bulb to the reflector and then add the pulleys so that you can control the height – this is important, as you’ll need to adjust them a couple of times a week once your plants start growing.
This type of lighting has one very big downside, which is that if you plan on growing more than one plant or two, you’re going to need to spend quite a lot of money, losing their cost-effectiveness. This method is definitely worth it if you’re planning on growing just a couple of plants and getting a few ounces (around 100-120g), although for results like these you’re going to need to learn pruning and training techniques in order to increase yield.
When it comes to CFL lighting you should be using 6400k light during the growth phase and 2700k light during the bloom period, although this is simply because their color spectrum is more similar to what the sun actually does during summer and autumn – you can use a growth spectrum light during the entire process and your plants will still grow successfully. The amount of watts given to your plants is much more important than the color of the lights.
LED (Light Emitting Diodes)

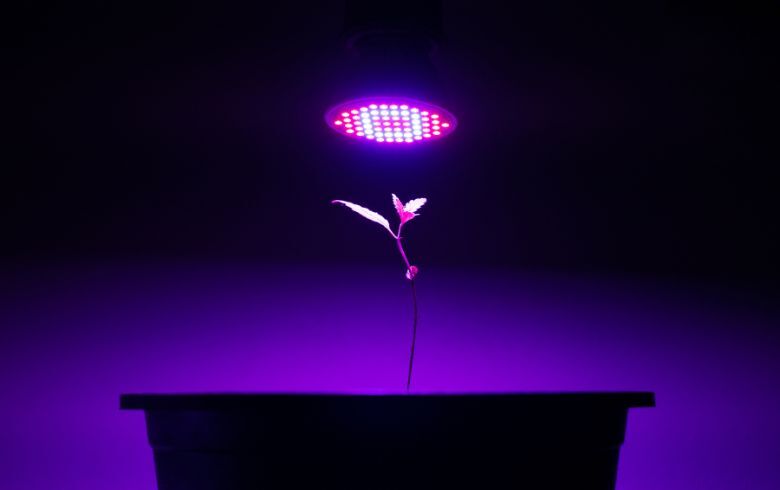
LED lights, also known as Light Emitting Diodes, are the latest type of light to be used when growing cannabis indoors, and they seem to be gaining more popularity than the traditional HPS lights. These lights have not been quite as popular as HPS due to the fact that up until a few years ago, they were still quite lacking in performance, especially considering their price.
Nowadays, LED lights are actually quite powerful and come with the added benefit of hardly heating up at all, meaning that they can stay on for longer. Plus, some LED lighting systems come with a system that allows you to change the spectrum so that you can give your plants the exact spectrum and wavelength needed for their particular stage or phase. They also produce light in one direction, unlike other models, which requires some adjustment if you’re using to growing using reflectors.
LED lights are also incredibly energy efficient, causing a reduction of up to 50% in your electric bills compared to other models of grow lights used to produce cannabis. When compared with the fact that you won’t need to use an AC unit to cool your grow room down (which can happen when using HPS lighting), you’re saving quite a lot on operating costs as well as the need for a less potent extraction system and fan. Depending on where you’re situated, LED grows might even be viable during the hotter months of the year.
LED Downsides
One of the biggest downsides to LED lighting for many people is the cost, being much more expensive than the previous two lights. This investment, however, definitely pays for itself in time when you take into account the reduced costs and the fact that most LED light systems have a lifespan of up to 50,000 hours. LED lights can also be misleading, as they emit a sort of purple light that can sometimes camouflage issues such as insect infestations or nutrient deficiencies. This is easily solved by having a normal fluorescent light setup and using it to check your plants with the LEDs off once a week, just in case.
Grow Light Setup – Lighting and spacing
Each lighting system is going to require you to consider spacing and if you need a reflector or not; if you’re growing in a full room, you might want to consider covering the walls with reflective material or white paint at least in order to increase reflectivity when growing using HID lights (HPS and MH). For example, both HID and CFL lights require a reflector and reflective surfaces, as they produce light in all directions which means there’s a higher chance of actually losing some reflectivity, which means that your plants won’t receive as much light as they should be. If growing in a grow tent designed for this purpose, you shouldn’t need to cover the walls with anything as they generally come with a reflective surface.
LED lights, however, don’t require a reflector as their light is omnidirectional, which means that you essentially have to point them where you want them to go. Some growers use CFL lighting to supplement LEDs towards the sides of their plants in order to increase light intake – this is also done with HID lights, as CFL lights are inexpensive and can provide quite an increase when used correctly.
Grow Light Setup – How to Hang Grow Lights
 When you have the right tools on hand, hanging grow lights is relatively easy. Depending on whether you’re growing in a room or in a grow tent, you’ll need to hang your lights in a certain way. For example, in a grow tent you can easily use the upper bar to hang your lights from, but in a room unless you have a beam you’re going to want to buy a frame to hang it from.
The idea is to ensure that you can move them up and down when needed, as your plants are going to grow fast to start with and you’ll need to adjust the height of the lamps accordingly. You’re also going to need to calculate the light needed for your available space. For example, the smallest grow tents on the market should have enough with a 250w HID (around 0.6×0.6m) although for larger tents such as 1.2×1.2x people tend to opt for higher wattages such as 600w, although this can vary for LED lights and you still need to make sure the light will cover all of your plants.
When growing using HID lights and cooltube reflectors, make sure to keep in mind the added weight to your lighting system and the necessary elements that you’ll have to connect to the cooltube (ducting, extraction fan, odor system etc).
One of the best methods of setting up your grow lights is to hang them from the bar or a beam on your ceiling using a handy pulley system or by making your own using chains – it’s incredibly important to make sure that whatever system you have in place can be adjusted; one of the most important parts of a grow light setup is adaptability.